MacBook Pro A1706 Screen Replacement Tutorial
Introduction:
- Simon introduces the video, focusing on replacing the screen of a MacBook Pro A1706.
- The MacBook screen is black, although the computer functions when connected to an external display, indicating a potential backlight issue or screen malfunction.
Preparation:
- Identify the model: A1706 and A1708 screens are interchangeable.
- Necessary tools: Pentalobe P5, Torx T8, T3, T5 screwdrivers.
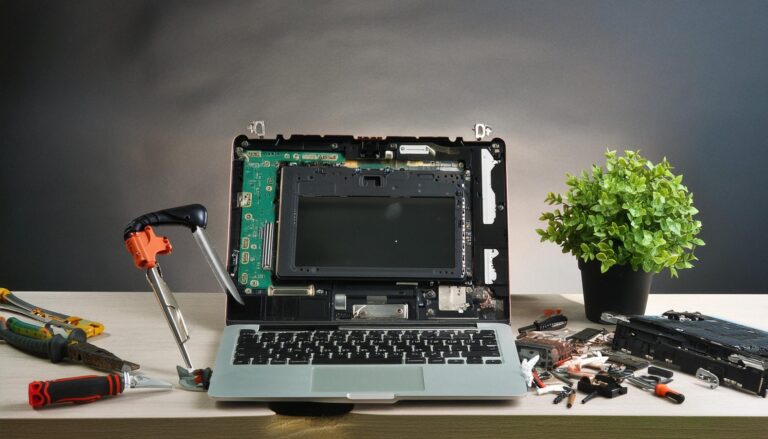
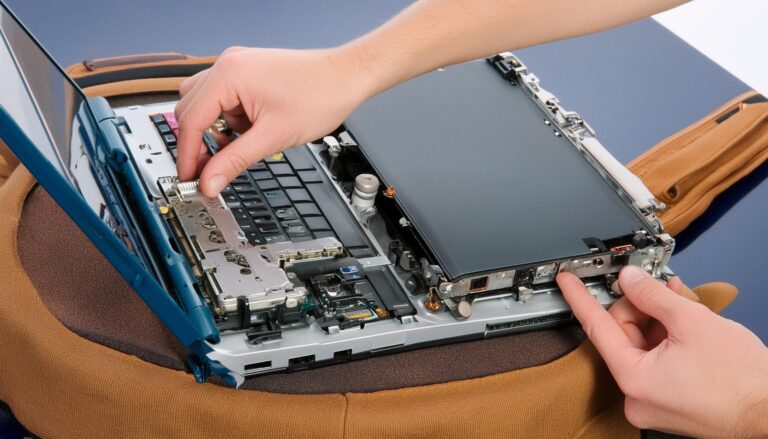
Disassembly Steps:
- Remove Back Cover:
- Use Pentalobe P5 to remove screws (note the different lengths: longer screws at top corners, shorter at the bottom, and smallest in the center).
- Pry open the back cover and slide it off.
- Disconnect Battery:
- Peel back the cover tape and disconnect the battery using a plastic prying tool.
- Remove the screw securing the battery connector.
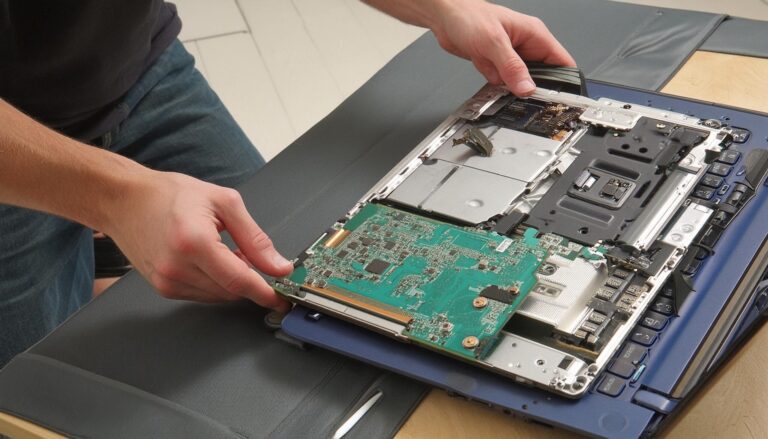
- Remove Screen Components:
- Use T3 to remove screws from the LCD bracket and other components.
- Disconnect cables by gently lifting them straight up.
- Use T5 to remove screws securing the Wi-Fi antenna and other components.
- Remove the brackets on the left and right hinge corners using T3.
- Remove Screen Hinges:
- Use a Pentalobe P2 (0.8 mm) to remove screws along the sides of the screen.
- Disconnect and remove the Wi-Fi antenna.
- Remove the three hinge screws on each side.
- Detach Screen:
- Open the laptop and slide the hinges out to remove the screen.
Installation Steps:
- Install New Screen:
- Align and slide the hinges of the new screen into place.
- Ensure all cables (LCD and flex cables) are not pinched and are sitting correctly.
- Secure Hinges:
- Close the screen and secure it with one screw on each side to hold it in place, then close the screen fully and secure the remaining screws.
- Reconnect Components:
- Reconnect the Wi-Fi antenna and other flex cables, ensuring proper alignment and gentle pressure.
- Replace all screws and brackets removed earlier.
- Final Assembly:
- Ensure the Clipper and connectors are properly secured.
- Slide the back cover into place and press to lock the clips.
- Replace all external screws.
Testing:
- Plug in the charger to power the device as the battery was disconnected.
- Power on the MacBook to verify the screen works correctly and displays properly.
- Ensure no personal information is visible before displaying results.
Conclusion:
- Simon encourages viewers to like, comment, and subscribe, and offers additional resources for purchasing tools and replacement screens through links in the description.
- He thanks viewers for watching and invites them to support his channel via YouTube’s Super Thanks feature.
This comprehensive guide provides detailed steps for replacing a MacBook Pro A1706 screen, emphasizing careful handling and proper tool use.