Title: How to Clone Your M.2 SSD Drive for Enhanced Storage: A Step-by-Step Guide
Introduction: In today’s digital age, storage space is more valuable than ever, especially for those who rely heavily on their computers for work, entertainment, and personal use. If you find yourself running out of space on your M.2 SSD drive, fear not – upgrading to a larger capacity drive is easier than you think. In this comprehensive guide, I’ll walk you through the process of cloning your existing M.2 SSD drive to a new, larger drive, giving you the extra space you need without the hassle of reinstalling everything from scratch.
Preparing for the Clone: Before we dive into the cloning process, there are a few essential tools you’ll need:
- A new M.2 SSD drive with a larger capacity than your existing one.
- A USB M.2 adapter to connect the new drive to your computer.
- Acronis True Image software for cloning (available for purchase).
Step 1: Shut Down Your Computer Start by powering off your computer and ensuring it’s completely shut down before proceeding with the cloning process.
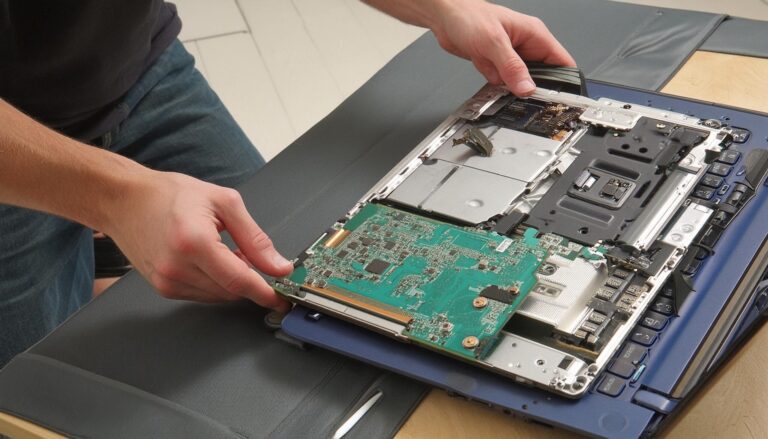
Step 2: Prepare the New M.2 SSD Drive Carefully unpack your new M.2 SSD drive and insert it into the USB M.2 adapter. Secure the drive in place using a screw or tape to prevent it from moving during the cloning process.
Step 3: Boot from Acronis True Image Insert the Acronis True Image bootable media into your computer’s CD/DVD drive. Start your computer and access the boot menu by pressing the designated key (usually F12) during startup. Select the CD/DVD drive as the boot device and follow the on-screen instructions to boot from the Acronis True Image software.
Step 4: Launch Acronis True Image and Select Cloning Once Acronis True Image has booted up, navigate to the “Tools and Utilities” menu and select the “Clone” option. Choose the automatic cloning method and proceed to the next step.
Step 5: Select Source and Destination Drives Select your existing M.2 SSD drive (source) and the new M.2 SSD drive (destination) from the available options. Double-check your selections to ensure you’re cloning from the correct drive to the new one.
Step 6: Choose Cloning Method Select the appropriate cloning method based on your needs. If you’re replacing the disk on the same computer, choose the first option. If you plan to use the new drive on another machine, select the second option.
Step 7: Start the Cloning Process Review the summary of your selections and proceed with the cloning process. Acronis True Image will begin cloning the contents of your existing M.2 SSD drive to the new drive. Depending on the size of your drive and the data being transferred, this process may take some time.
Step 8: Verify Cloning Success Once the cloning process is complete, shut down your computer and remove the new M.2 SSD drive from the USB adapter. Install the new drive into your computer, replacing the old one.
Step 9: Power On and Verify Power on your computer and ensure that it boots up properly with the new M.2 SSD drive installed. Check the storage settings to confirm that the drive has been successfully cloned and that you now have additional storage space.
Conclusion: Congratulations! You’ve successfully cloned your M.2 SSD drive to a larger capacity drive, giving you more storage space to work with. With this simple yet effective process, you can upgrade your storage without the hassle of reinstalling your operating system and applications. Don’t forget to check the description below for links to the tools and software mentioned in this guide. Happy computing!