Step-by-Step Guide to Setting Up TP-Link AX1800 Router and Port Forwarding for Xbox One
Introduction:
Hi everyone, Simon here! Today, I’m excited to walk you through a detailed guide on setting up your brand new TP-Link AX1800 router and conducting port forwarding for your Xbox One. This step-by-step tutorial is designed to make the process straightforward and hassle-free.
Setting Up Your TP-Link AX1800 Router:
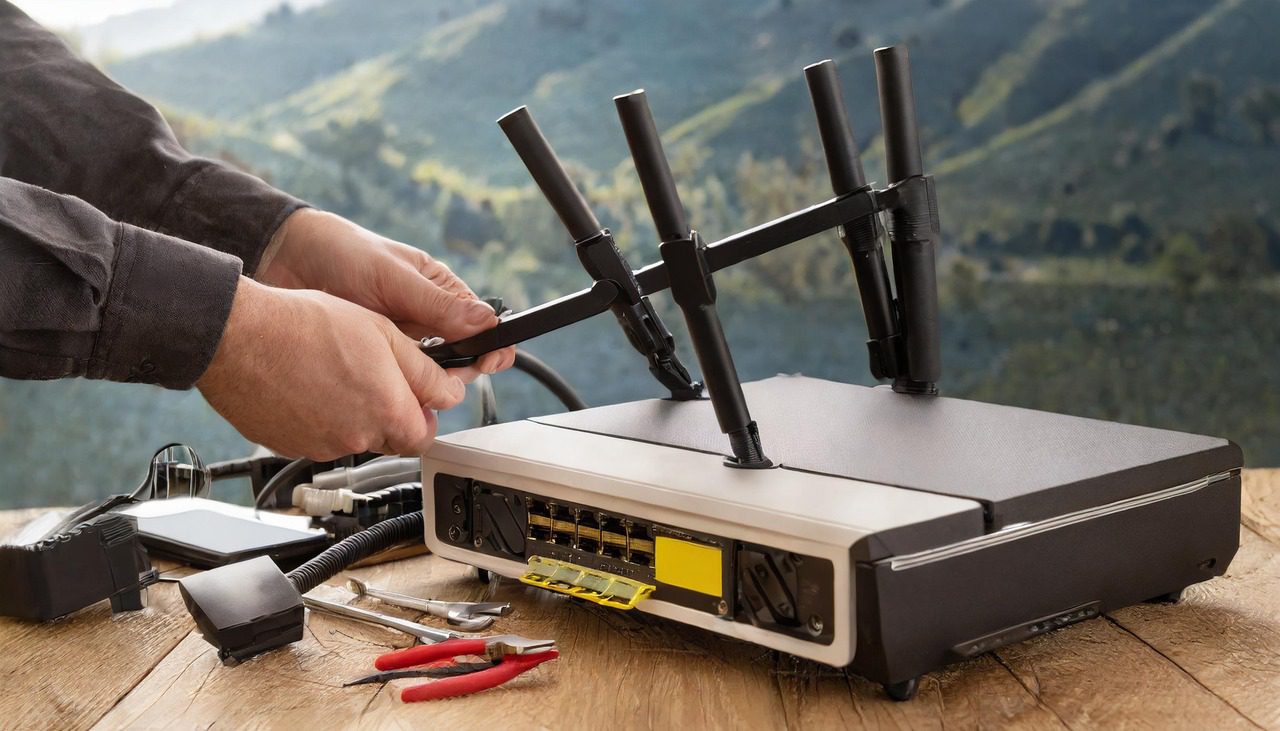
- Unpacking and Cable Connections:
- When you unbox the TP-Link AX1800, you’ll find a black power cable. Plug this into your power outlet and connect it to your router.
- The white cable, which may vary in color, represents your internet service. This needs to be plugged into the blue port on your router. This port is specifically for your internet service provider.
- The orange ports are designated for local devices like printers, desktops, laptops, and TVs. These ports are for any device in your home that requires an internet connection.
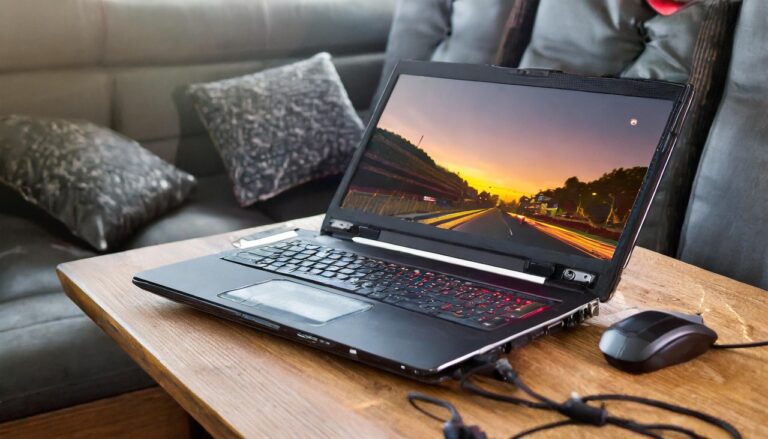
- Configuration on Your Laptop:
- On your laptop, open any web browser like Microsoft Edge, Chrome, or Firefox.
- Navigate to the URL
tplinkwifi.net.
- You’ll be prompted to set a password for accessing your router’s settings in the future. Choose a secure password and remember it for subsequent logins.
- Router Settings:
- Once logged in, select your time zone. For instance, I selected Hawaii for my setup.
- The connection type should generally be set to Dynamic IP, which is common for residential setups. Only select Static IP if your ISP requires it.
- You’ll then be asked to configure your wireless settings. This includes your network’s SSID (name) and password. You can opt for the default settings or customize them according to your preference.
- Final Steps:
- After setting up your wireless network, you might be prompted to update your router’s firmware. While I skipped this step for the tutorial, it’s generally recommended to perform the update for optimal performance.
- The router’s dashboard will confirm a successful setup, showing you the status of your internet connection and connected devices.
Port Forwarding for Xbox One:
- Accessing Port Forwarding Settings:
- Return to your browser and log into the router’s dashboard again via
tplinkwifi.net.
- Once in the dashboard, locate and click on the “Advanced” option, followed by “Net Forwarding.”
- Adding Ports:
- In the Port Forwarding section, start by adding a new port. For Xbox One, several ports need to be opened for an optimal gaming experience.
- For each required port, such as port 88 (UDP), 3074 (TCP/UDP), 53 (TCP/UDP), 80 (TCP), 500 (UDP), 3544 (UDP), and 4500 (UDP), create a new entry. Ensure you’re selecting the correct protocol (TCP, UDP, or both) for each port.
- Make sure to select your Xbox device from the list of connected devices to assign these ports correctly.
- Completing the Setup:
- After adding all necessary ports, save your settings.
- This should optimize your Xbox One’s internet connectivity, ensuring a smoother online gaming experience.
Conclusion:
Setting up your TP-Link AX1800 router and configuring port forwarding for Xbox One is a straightforward process with this guide. If you have any questions, feel free to drop a comment below. Don’t forget to like and subscribe if you found this tutorial helpful. For purchasing the router, check out the provided Amazon link in the description. Thanks for reading, and happy gaming!